最近一直忙着做一些性能方面的工作,理论和实践真的是缺一不可的事情,知道的事情,但是大多数很难做到,这次可以说是一个自我的提升,首先对于性能优化是必须要最的事情,也是开发中最重要的事,优化的点也很多,我开始冲代码的结构角度去考虑问题,现在使用的单页面应用,是否在打包过程中出现文件太大,导致加载太慢的问题,所以第一点要分块处理,第二要提取公共部分,不会出现多次加载相同部分,整体优化方案做了如何工作:
一、and design react 样式做按需加载
1、eject情况下配置antd按需加载 (1)安装 babel-plugin-import
npm install babel-plugin-import --save
(2)package.json文件下添加
"plugins": [["import",{"libraryName": "antd","style": "css"}]]
2、不eject情况下配置antd按需加载 (1)安装 react-app-rewired
npm install react-app-rewired --save
(2)修改config-overrides.js文件
const { injectBabelPlugin } = require('react-app-rewired');module.exports = function override(config, env) {config = injectBabelPlugin(['import', { libraryName: 'antd', libraryDirectory: 'es', style: 'css' }],config,)return config;};
(3) 修改package.json文件中的start、build、test 命令
"scripts": {- "start": "react-scripts start",+ "start": "react-app-rewired start",- "build": "react-scripts build",+ "build": "react-app-rewired build",- "test": "react-scripts test --env=jsdom",+ "test": "react-app-rewired test --env=jsdom","eject": "react-scripts eject"}
(4)引入babel-plugin-import
二、路由lazy 懒加载
1、使用lazy import 异步导入路由
import { lazy } from 'react';import PageInit from '../pages/error/pageInit'const Home = lazy(()=>import('../pages/home/home'))const Login = lazy(()=>import('../pages/login/login'))const Log = lazy(()=>import('../pages/log/index'))const User = lazy(()=>import('../pages/user/user'))const Role = lazy(()=>import('../pages/role/role'))const Userinfo = lazy(()=>import('../pages/user/userinfo'))const ServerInfo = lazy(()=>import('../pages/user/serverInfo'))const History = lazy(()=>import('../pages/history/history'))const Device = lazy(()=>import('../pages/device/index'))const MpUser = lazy(()=>import('../pages/mpUser/mpUser'))const Alarm = lazy(()=>import('../pages/alarm/alarm'))const DevMonitor = lazy(()=>import('../pages/interDev/devMonitor'))
2、Suspense 处理加载样式
<Suspense fallback&#61;{<PageLoading />}><Route path&#61;"/"render&#61;{props &#61;>this.authorUser(props)}/></Suspense>
3、提取公共的模块
利用webpack打包工具&#xff0c;把公共的代码提取&#xff0c;使用optimization属性配置
splitChunks: {chunks: &#39;all&#39;,name: false,// maxSize:614400,// minSize:409600,maxAsyncRequests:60,maxInitialRequests:60,cacheGroups: {reactDom: {test: /[\\/]node_modules[\\/](react|react-dom)[\\/]/,name: &#39;reactDom&#39;,chunks: &#39;all&#39;,},// echartDom: {// test: /[\\/]node_modules[\\/](echarts)[\\/]/,// name: &#39;echartsDom&#39;,// chunks: &#39;all&#39;,// },// antLibDom: {// test: /[\\/]node_modules[\\/](antd[\\/]lib)[\\/]/,// name: &#39;antLibDom&#39;,// chunks: &#39;all&#39;,// },// renderDom: {// test: /[\\/]node_modules[\\/](zrender[\\/]lib)[\\/]/,// name: &#39;renderDom&#39;,// chunks: &#39;all&#39;,// }}},
4、图片database64 压缩
使用在线工具对图片进行压缩处理&#xff0c;这里不再说明&#xff0c;推荐网站http://tools.whsir.com/dataurl/
5、echarts 按需加载 和CDN 处理
在webpack 分析工具的帮助下发现文件太大了&#xff0c;加载速度自然提不上了&#xff0c;所有这里借助CDN处理
6、文件包分析工具使用
webpack-chart&#xff1a;Webpack统计信息的交互式饼图。 webpack-visualizer&#xff1a;可视化和分析您的包&#xff0c;以查看哪些模块占用了空间&#xff0c;哪些可能是重复的。 webpack-bundle-analyzer&#xff1a;一个插件和CLI实用程序&#xff0c;将包内容表示为方便的交互式可缩放树形图。 webpack软件包优化助手&#xff1a;此工具将分析您的软件包&#xff0c;并为您提供切实可行的建议&#xff0c;以减少软件包的大小。 bundle-stats&#xff1a;生成捆绑包报告&#xff08;捆绑包大小&#xff0c;资产&#xff0c;模块&#xff09;&#xff0c;并比较不同版本之间的结果 这里我使用webpack-bundle-analyzer 进行分析打包后文件大小
npm install --save-dev webpack-bundle-analyzer Yarn
npm install --save-dev webpack-bundle-analyzer
yarn add -D webpack-bundle-analyzerconst BundleAnalyzerPlugin &#61; require(&#39;webpack-bundle-analyzer&#39;).BundleAnalyzerPlugin;module.exports &#61; {plugins: [new BundleAnalyzerPlugin()]}
7、文件压缩处理
首先&#xff0c;您需要安装compression-webpack-plugin&#xff1a;
$ npm install compression-webpack-plugin --save-dev
然后将插件添加到您的webpack配置中。例如&#xff1a;
webpack.config.jsconst CompressionPlugin &#61; require("compression-webpack-plugin");module.exports &#61; {plugins: [new CompressionPlugin()],};
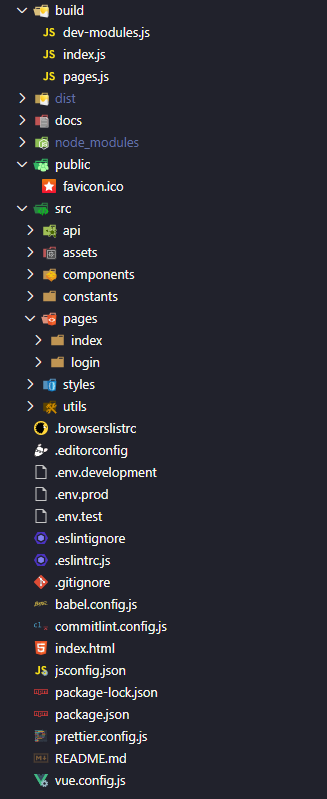
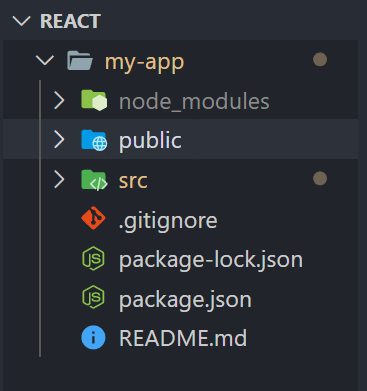
8、代码结构&#xff08;这是首先优化的地方&#xff09; 代码太多&#xff0c;不做说明


 京公网安备 11010802041100号