第二章 信息收集和扫描-续
我们将学习以下内容
与Nessus结合使用
与NeXpose结合使用
与OpenVAS结合使用
接上篇:第二章 信息收集与扫描
14、与Nessus结合
到目前为止,我们已经了解了端口扫描的基础知识,以及学会了Nmap的使用。通过其他一些工具的学习,进一步提高了扫描和信息收集的技术。在接下来的小节中,我们将介绍其他几种扫描目标可用服务和端口的工具,这些工具还可以帮助我们确定特定服务和端口可能存在的漏洞类型。让我们开始漏洞扫描之旅。
Nessus是使用最广泛的漏洞扫描器之一,它可用通过扫描目标发现漏洞并生成详细的报告。Nessus是渗透测试中非常有用的工具。你可用使用它的GUI版本,也可以在Metasploit控制台中使用它。本书主要介绍在msfconsole中使用它。
准备工作
要使用Nessus需要先去Nessus官网注册并取得Licenses。你可以使用Nessus家庭版,此授权是免费的,它允许你扫描个人家庭网络(小于16个IP地址)。然后下载软件安装包进行安装。在Kali中需要下载.deb格式的包,然后使用dpkg -i进行安装。
家庭版密钥申请地址:https://www.tenable.com/products/nessus-home
填写注册信息,完成注册,然后会跳转到下载页面
根据自己的系统版本,下载32bit或者64bit版本
激活密钥会发到你的邮箱里面,请保存下来。
下载完成之后进行安装:
root@osboxes:~# cd ~/Downloads/
root@osboxes:~/Downloads# ls
bettercap  bettercap_linux_amd64_2.2.zip  libpcap-1.8.1  libpcap-1.8.1.tar.gz  Nessus-8.3.1-debian6_amd64.deb
root@osboxes:~/Downloads# dpkg -i Nessus-8.3.1-debian6_amd64.deb //安装
Selecting previously unselected package nessus.
(Reading database ... 435326 files and directories currently installed.)
Preparing to unpack Nessus-8.3.1-debian6_amd64.deb ...
Unpacking nessus (8.3.1) ...
Setting up nessus (8.3.1) ...
Unpacking Nessus Scanner Core Components...- You can start Nessus Scanner by typing /etc/init.d/nessusd start- Then go to https://osboxes:8834/ to configure your scannerProcessing triggers for systemd (241-1) ...
root@osboxes:~/Downloads#
安装完成之后,启动Nessus服务
root@osboxes:~/Downloads# systemctl start nessusd.service
根据提示,使用浏览器打开网址https://osboxes:8834/或者https://127.0.0.1:8834进行配置
1、设置用户名和密码:
2、选择Home,Professional or Manager,填写激活密钥进行授权激活。
3、激活完成后,Nessus还会安装一系列组件,等待安装完成(需要一段时间,请耐心等待)
安装完成后,就可以进行下一步操作了。
怎么做
1、在msfconsole里面载入nessus组件。
msf5 > load nessus //载入nessus组件
[*] Nessus Bridge for Metasploit
[*] Type nessus_help for a command listing
[*] Successfully loaded plugin: Nessus
msf5 >
2、输入nessus_help命令,可以查看可用参数和帮助信息
msf5 > nessus_helpCommand                     Help Text
-------                     ---------
Generic Commands
-----------------           -----------------
nessus_connect              Connect to a Nessus server
nessus_logout               Logout from the Nessus server
nessus_login                Login into the connected Nesssus server with a different username and password
nessus_save                 Save credentials of the logged in user to nessus.yml
nessus_help                 Listing of available nessus commands
nessus_server_properties    Nessus server properties such as feed type, version, plugin set and server UUID.
nessus_server_status        Check the status of your Nessus Server
nessus_admin                Checks if user is an admin
nessus_template_list        List scan or policy templates
nessus_folder_list          List all configured folders on the Nessus server
nessus_scanner_list         List all the scanners configured on the Nessus server
Nessus Database Commands
3、连接到Nessus服务,使用nessus_connect NessusUser:NessusPassword@127.0.0.1命令。
msf5 > nessus_connect nessusroot:Passw0rd@127.0.0.1 //连接到 Nessus 服务
[*] Connecting to https://127.0.0.1:8834/ as nessusroot
[*] User nessusroot authenticated successfully.
msf5 >
4、使用nessus_policy_list可用列出Nessus服务上的所有扫描策略。如果没有,需要先在WebUI界面中创建策略。
msf5 > nessus_policy_list
[-] No policies found
msf5 >
提示没有策略,我们去创建一个
我们选择新建一个Basic Network Scan策略
配置好相关的参数,然后点保存
回到msfconsole里面再次执行nessus_policy_list就看看到了
msf5 > nessus_policy_list
Policy ID  Name       Policy UUID
---------  ----       -----------
4          PenTest01  731a8e52-3ea6-a291-ec0a-d2ff0619c19d7bd788d6be818b65msf5 >
5、创建nessus扫描,使用nessus_scan_new --help查看命令帮助信息:
msf5 > nessus_scan_new --help
[*] Usage:
[*] nessus_scan_new
[*] Use nessus_policy_list to list all available policies with their corresponding UUIDs
msf5 >
6、创建扫描
msf5 > nessus_scan_new 731a8e52-3ea6-a291-ec0a-d2ff0619c19d7bd788d6be818b65 Metasploitable3 Windows_Machine 192.168.177.144
[*] Creating scan from policy number 731a8e52-3ea6-a291-ec0a-d2ff0619c19d7bd788d6be818b65, called Metasploitable3 - Windows_Machine and scanning 192.168.177.144
[*] New scan added
[-] Error while running command nessus_scan_new: undefined method `[]' for nil:NilClassCall stack:
/usr/share/metasploit-framework/plugins/nessus.rb:979:in `cmd_nessus_scan_new'
/usr/share/metasploit-framework/lib/rex/ui/text/dispatcher_shell.rb:522:in `run_command'
/usr/share/metasploit-framework/lib/rex/ui/text/dispatcher_shell.rb:473:in `block in run_single'
/usr/share/metasploit-framework/lib/rex/ui/text/dispatcher_shell.rb:467:in `each'
/usr/share/metasploit-framework/lib/rex/ui/text/dispatcher_shell.rb:467:in `run_single'
/usr/share/metasploit-framework/lib/rex/ui/text/shell.rb:151:in `run'
/usr/share/metasploit-framework/lib/metasploit/framework/command/console.rb:48:in `start'
/usr/share/metasploit-framework/lib/metasploit/framework/command/base.rb:82:in `start'
/usr/bin/msfconsole:49:in `
msf5 >
此次会报错:Error while running command nessus_scan_new: undefined method []' for nil:NilClass。这是由于Nessus 7开始对远程调用进行认证,从而导致Metasploit调用失败。现在正在等待修复。
解决办法:Nessus Plugin unable to create new scan · Issue #11117 · rapid7/metasploit-framework · GitHub github.com/rapid7/meta…
成功创建扫描:
msf5 > nessus_scan_new 731a8e52-3ea6-a291-ec0a-d2ff0619c19d7bd788d6be818b65 test test 192.168.177.144
[*] Creating scan from policy number 731a8e52-3ea6-a291-ec0a-d2ff0619c19d7bd788d6be818b65, called test - test and scanning 192.168.177.144
[*] New scan added
[*] Use nessus_scan_launch 6 to launch the scan
Scan ID  Scanner ID  Policy ID  Targets          Owner
-------  ----------  ---------  -------          -----
6        1           5          192.168.177.144  nessusrootmsf5 >
7、使用nessus_scan_list可用查看扫描列表,以及它们的状态
msf5 > nessus_scan_list
Scan ID  Name  Owner       Started  Status  Folder
-------  ----  -----       -------  ------  ------
6        test  nessusroot           empty   3       msf5 >
8、启动扫描,使用nessus_scan_launch 启动扫描
msf5 > nessus_scan_launch 6
[+] Scan ID 6 successfully launched. The Scan UUID is 67d8e87c-17a6-7693-0b41-666f40291e1464ae15bc02832ca3
msf5 >
再次查看状态:
msf5 > nessus_scan_list
Scan ID  Name  Owner       Started  Status   Folder
-------  ----  -----       -------  ------   ------
6        test  nessusroot           running  3msf5 >
9、查看扫描的详细信息,使用nessus_scan_details
msf5 > nessus_scan_details 6 info  //查看扫描状态
Status   Policy              Scan Name  Scan Targets     Scan Start Time  Scan End Time
------   ------              ---------  ------------     ---------------  -------------
running  Basic Network Scan  test       192.168.177.144  1555301230msf5 > nessus_scan_details 6 hosts //查看主机
Host ID  Hostname         % of Critical Findings  % of High Findings  % of Medium Findings  % of Low Findings
-------  --------         ----------------------  ------------------  --------------------  -----------------
2        192.168.177.144  1                       0                   0                     0msf5 > nessus_scan_details 6 vulnerabilities //查看漏洞信息
Plugin ID  Plugin Name	Plugin Family      Count
---------  -----------	-------------      -----
10114      ICMP Timestamp Request Remote Date Disclosure	General            1
10150      Windows NetBIOS / SMB Remote Host Information Disclosure	Windows            1
10287      Traceroute Information	General            1
10394      Microsoft Windows SMB Log In Possible	Windows            1
10736      DCE Services Enumeration	Windows            8
10785      Microsoft Windows SMB NativeLanManager Remote System Information Disclosure
.....
msf5 > nessus_scan_details 6 history //查看扫描历史
History ID  Status   Creation Date  Last Modification Date
----------  ------   -------------  ----------------------
7           running  1555301230msf5 >
在WebUI上也可以看到我们创建的扫描
10、当完成扫描后,使用nessus_db_import 将扫描结果导入到Metasploit中。
msf5 > nessus_scan_details 6 info
Status     Policy              Scan Name  Scan Targets     Scan Start Time  Scan End Time
------     ------              ---------  ------------     ---------------  -------------
completed  Basic Network Scan  test       192.168.177.144  1555301230       1555302154       msf5 > nessus_db_import 6
[*] Exporting scan ID 6 is Nessus format...
[+] The export file ID for scan ID 6 is 2110513949
[*] Checking export status...
[*] Export status: loading
[*] Export status: ready
[*] The status of scan ID 6 export is ready
[*] Importing scan results to the database...
[*] Importing data of 192.168.177.144
[+] Done
msf5 >
导入进去之后,我们就能使用hosts、services命令查看主机和目标服务的信息了。
msf5 > hosts
Hosts
=====
address          mac                name             os_name       os_flavor  os_sp  purpose  info  comments
-------          ---                ----             -------       ---------  -----  -------  ----  --------
192.168.177.1                                        Unknown                         device
192.168.177.144  00:0c:29:41:d2:48  METASPLOITABLE3  Windows 2008  Standard   SP1    server
192.168.177.145                                      Unknown                         device
msf5 > services
Services
========
host             port   proto  name              state  info
----             ----   -----  ----              -----  ----
192.168.177.1    21     tcp    ftp               open   220 Serv-U FTP Server v15.0 ready...\x0d\x0a
192.168.177.144  21     tcp    ftp               open   220 Microsoft FTP Service\x0d\x0a
192.168.177.144  22     tcp    ssh               open   SSH-2.0-OpenSSH_7.1
192.168.177.144  80     tcp    www               open   Microsoft IIS httpd 7.5
192.168.177.144  135    tcp    epmap             open
192.168.177.144  137    udp    netbios-ns        open
.....
查看扫描结果中的漏洞信息,使用vulns指令
msf5 > vulns
Vulnerabilities
===============
Timestamp Host Name References
--------- ---- ---- ----------
2019-04-12 07:52:51 UTC 192.168.177.144 MS17-010 SMB RCE Detection CVE-2017-0143,CVE-2017-0144,CVE-2017-0145,CVE-2017-0146,CVE-2017-0147,CVE-2017-0148,MSB-MS17-
010,URL-https://zerosum0x0.blogspot.com/2017/04/doublepulsar-initial-smb-backdoor-ring.html,URL-https://github.com/countercept/doublepulsar-detection-script,URL-htt
ps://technet.microsoft.com/en-us/library/security/ms17-010.aspx
2019-04-12 09:08:20 UTC 192.168.177.144 HTTP Writable Path PUT/DELETE File Access OSVDB-397
2019-04-15 04:25:24 UTC 192.168.177.144 Elasticsearch Transport Protocol Unspecified Remote Code Execution CVE-2015-5377,NSS-105752,NSS-119499
2019-04-15 04:25:25 UTC 192.168.177.144 MySQL Server Detection NSS-10719
2019-04-15 04:25:25 UTC 192.168.177.144 Elasticsearch Detection NSS-109941
2019-04-15 04:25:25 UTC 192.168.177.144 ManageEngine Desktop Central 9
....
15、与NeXpose结合
在本节,我们将介绍另一个极佳的漏洞扫描器:NeXpose。NexPose是领先的漏洞评估工具之一。NeXpose 是 Rapid7 常用的工具,它执行漏洞扫描并将结果导入到 Metasploit 数据库中。NeXpose 的用法与 Nessus 类似,让我们快速了解一下如何使用 NeXpose。至于深入探究就留给大家来完成了。
准备工作
NeXpose社区版,可申请免费试用1年:www.rapid7.com/info/nexpos…
邮箱必须是独立的个人、学校、企业、机构等域名邮箱;第三方邮箱均无效!(如:gmail、新浪、网易、126、腾讯等都视为无效)。
注册,然后下载安装程序进行安装。
注册完成,然后下载安装程序
安装:安装询问过程,直接敲回车即可,然后填写一个用户信息,设置密码等
root@osboxes:~# chmod +x Rapid7Setup-Linux64.bin
root@osboxes:~# ./Rapid7Setup-Linux64.bin
....
Do you want to continue?
Yes [y, Enter], No [n]
Gathering system information....
Security Console with local Scan Engine
If you do not have a console installed yet, this option is recommended. The console manages scan engines and all administrative operations.
Scan Engine only
This distributed engine can start scanning after being paired with a Security Console.
Select only the set of components you want to install:
Security Console with local Scan Engine [1, Enter]
Scan Engine only [2]
1
Where should Rapid7 Vulnerability Management be installed?
[/opt/rapid7/nexpose]
....
Select any additional installation tasks.
Initialize and start after installation?
Yes [y], No [n, Enter]
y
...
If you chose to start the Security Console as part of the installation, then it will be started upon installer completion.
Using the credentials you created during installation, log onto Nexpose at https://localhost:3780.To start the service run: sudo systemctl start nexposeconsole.serviceTo start the service run: sudo systemctl start nexposeconsole.service
The Security Console is configured to automatically run at startup. See the
installation guide if you wish to modify start modes.[Enter]Finishing installation...
我们设置的用户名:nexpose 密码:Faq3wANIK0 (根据自己喜好设置)
启动脚本,执行/opt/rapid7/nexpose/nsc/nsc.sh 或者systemctl start nexposeconsole,启动需要一段时间,请耐心等待。
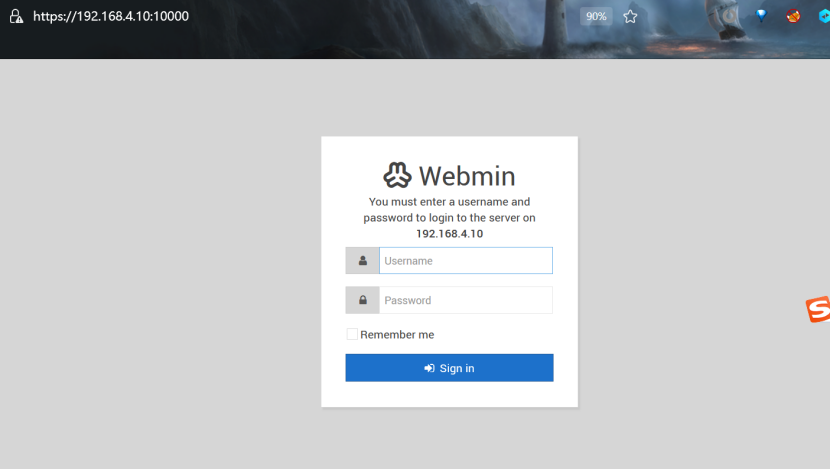
然后访问https://localhost:3780配置,等待启动完成,使用用户名和密码登录,然后输入我们申请的Key激活产品
在msfconsole中载入nexpose组件,然后连接到nexpose服务
msf5 > load nexpose                                                        ▄▄▄   ▄▄            ▄▄▄  ▄▄▄                                              ███   ██             ██ ▄██                                               ██▀█  ██   ▄████▄     ████    ██▄███▄    ▄████▄   ▄▄█████▄   ▄████▄       ██ ██ ██  ██▄▄▄▄██     ██     ██▀  ▀██  ██▀  ▀██  ██▄▄▄▄ ▀  ██▄▄▄▄██      ██  █▄██  ██▀▀▀▀▀▀    ████    ██    ██  ██    ██   ▀▀▀▀██▄  ██▀▀▀▀▀▀      ██   ███  ▀██▄▄▄▄█   ██  ██   ███▄▄██▀  ▀██▄▄██▀  █▄▄▄▄▄██  ▀██▄▄▄▄█      ▀▀   ▀▀▀    ▀▀▀▀▀   ▀▀▀  ▀▀▀  ██ ▀▀▀      ▀▀▀▀     ▀▀▀▀▀▀     ▀▀▀▀▀       ██                                          [*] Nexpose integration has been activated
[*] Successfully loaded plugin: nexpose
msf5 > nexpose_connect nexpose:Faq3wANIK0@127.0.0.1:3780
[*] Connecting to Nexpose instance at 127.0.0.1:3780 with username nexpose...
msf5 >
怎么做
与NeXpose服务连接后,我们就可以扫描目标生成报告。NeXpose支持两个扫描命令,一个是nexpose_scan,此命令会扫描目标然后导入结果到metasploit数据库中,另外一个是nexpose_discover,此命令仅发现主机和服务,不导入结果。
1、对目标进行快速扫描(执行最小服务发现扫描)
msf5 > nexpose_discover 192.168.177.144
[*] Scanning 1 addresses with template aggressive-discovery in sets of 32
[*] Completed the scan of 1 addresses
msf5 >
2、查看nexpose_scan帮助
msf5 > nexpose_scan -h
Usage: nexpose_scan [options]
3、要扫描目标,使用nexpose_scan -t
msf5 > nexpose_scan -t full-audit 192.168.177.144
[*] Scanning 1 addresses with template full-audit in sets of 32
[*] Completed the scan of 1 addresses
msf5 >
4、扫描完成后,导入结果到数据库中,使用nexpose_site_import
msf5 > nexpose_site_import 7
[*] Generating the export data file...
[*] Downloading the export data...
[*] Importing Nexpose data...
16、与OpenVAS结合
OpenVAS( Open Vulnerability Assessment System)是Nessus项目的分支。是一个免费开源的漏洞扫描和漏洞管理工具。也是当前使用最为广泛的漏洞扫描和管理开源解决方案。
怎么做
1、在Kali上安装 OpenVAS
root@osboxes:~# apt install openvas -y
2、设置openvas,包括下载规则,创建管理员用户和服务。
root@osboxes:~# openvas-setup //这一步会下载很多东西,请耐心等待
] Updating OpenVAS feeds
[*] [1/3] Updating: NVT
--2019-04-15 13:54:37-- http://dl.greenbone.net/community-nvt-feed-current.tar.bz2
Connecting to 192.168.1.91:1080... connected.
Proxy request sent, awaiting response... 200 OK
Length: 22288483 (21M) [application/octet-stream]
....
经过漫长的等待...
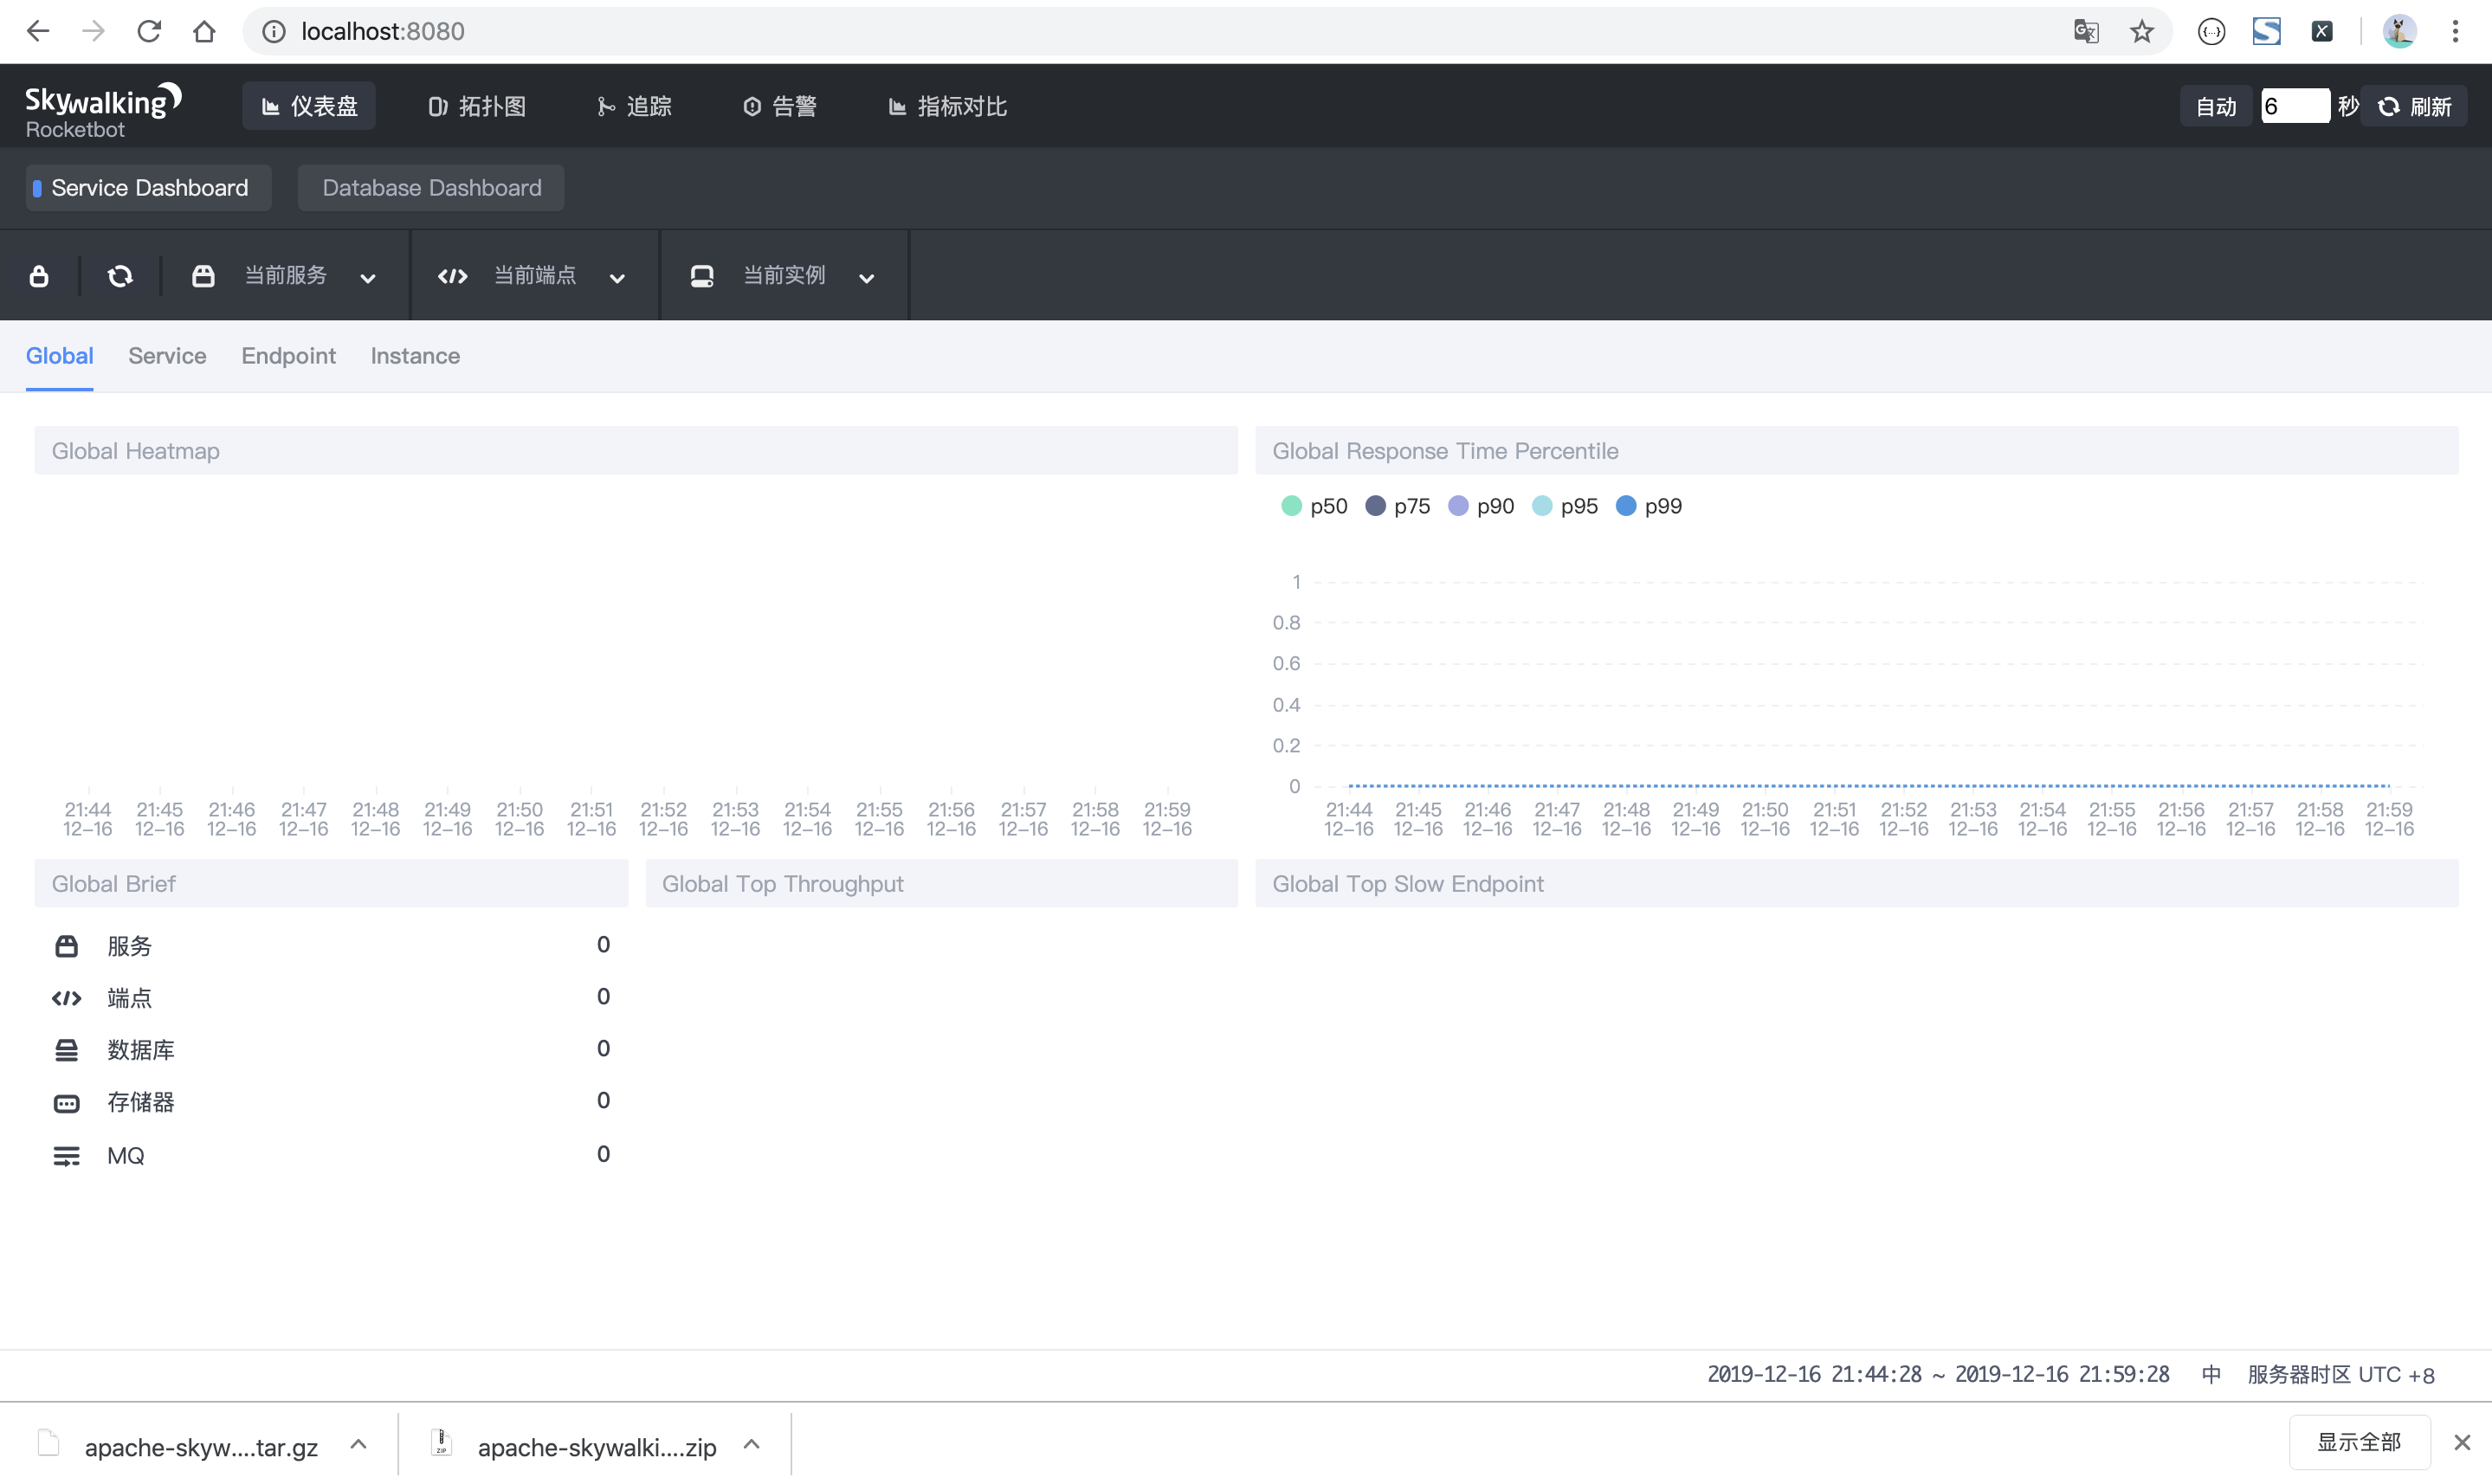
[*] Opening Web UI (https://127.0.0.1:9392) in: 5... 4... 3... 2... 1...
] Checking for admin user
[*] Creating admin user
User created with password 'dc63c468-3780-4e3c-b30c-1597f4b91623'.[+] Done
3、配置完成后,启动openvas ,其实在上一步中已经启动了。也可以用下面的命令启动
root@osboxes:~# openvas-start
访问https://127.0.0.1:9392可登录WebUI
4、在msfconsole中载入openvas组件
msf5 > load openvas
[*] Welcome to OpenVAS integration by kost and averagesecurityguy.
[*]
[*] OpenVAS integration requires a database connection. Once the
[*] database is ready, connect to the OpenVAS server using openvas_connect.
[*] For additional commands use openvas_help.
[*]
[*] Successfully loaded plugin: OpenVAS
msf5 >
5、查看帮助信息
msf5 > help openvasOpenVAS Commands
================Command                       Description-------                       -----------openvas_config_list           Quickly display list of configsopenvas_connect               Connect to an OpenVAS manager using OMPopenvas_debug                 Enable/Disable debuggingopenvas_disconnect            Disconnect from OpenVAS manageropenvas_format_list           Display list of available report formatsopenvas_help                  Displays helpopenvas_report_delete         Delete a report specified by IDopenvas_report_download       Save a report to diskopenvas_report_import         Import report specified by ID into frameworkopenvas_report_list           Display a list of available report formatsopenvas_target_create         Create target (name, hosts, comment)openvas_target_delete         Delete target by IDopenvas_target_list           Display list of targetsopenvas_task_create           Create a task (name, comment, target, config)openvas_task_delete           Delete task by IDopenvas_task_list             Display list of tasksopenvas_task_pause            Pause task by IDopenvas_task_resume           Resume task by IDopenvas_task_resume_or_start  Resume task or start task by IDopenvas_task_start            Start task by IDopenvas_task_stop             Stop task by IDopenvas_version               Display the version of the OpenVAS servermsf5 >
6、使用 openvas_connect 连接到OpenVAS服务
msf5 > openvas_connect admin dc63c468-3780-4e3c-b30c-1597f4b91623 127.0.0.1 9390
[*] Connecting to OpenVAS instance at 127.0.0.1:9390 with username admin...
/usr/share/metasploit-framework/vendor/bundle/ruby/2.5.0/gems/openvas-omp-0.0.4/lib/openvas-omp.rb:201: warning: Object#timeout is deprecated, use Timeout.timeout instead.
[+] OpenVAS connection successful
msf5 >
7、添加扫描目标,使用openvas_target_create 指令,参数包括描述信息,目标的IP
msf5 > openvas_target_create "Metasploitable3" 192.168.177.144 "Windows Target"
/usr/share/metasploit-framework/vendor/bundle/ruby/2.5.0/gems/openvas-omp-0.0.4/lib/openvas-omp.rb:201: warning: Object#timeout is deprecated, use Timeout.timeout instead.
[*] 6455a780-092a-40dd-8c01-191a7612505a
/usr/share/metasploit-framework/vendor/bundle/ruby/2.5.0/gems/openvas-omp-0.0.4/lib/openvas-omp.rb:201: warning: Object#timeout is deprecated, use Timeout.timeout instead.
[+] OpenVAS list of targetsID                                    Name             Hosts            Max Hosts  In Use  Comment
--                                    ----             -----            ---------  ------  -------
6455a780-092a-40dd-8c01-191a7612505a  Metasploitable3  192.168.177.144  1          0       Windows Targetmsf5 >
8、列出配置列表:openvas_config_list
msf5 > openvas_config_list
/usr/share/metasploit-framework/vendor/bundle/ruby/2.5.0/gems/openvas-omp-0.0.4/lib/openvas-omp.rb:201: warning: Object#timeout is deprecated, use Timeout.timeout instead.
[+] OpenVAS list of configsID                                    Name
--                                    ----
085569ce-73ed-11df-83c3-002264764cea  empty
2d3f051c-55ba-11e3-bf43-406186ea4fc5  Host Discovery
698f691e-7489-11df-9d8c-002264764cea  Full and fast ultimate
708f25c4-7489-11df-8094-002264764cea  Full and very deep
74db13d6-7489-11df-91b9-002264764cea  Full and very deep ultimate
8715c877-47a0-438d-98a3-27c7a6ab2196  Discovery
bbca7412-a950-11e3-9109-406186ea4fc5  System Discovery
daba56c8-73ec-11df-a475-002264764cea  Full and fastmsf5 >
9、创建任务,使用如下指令
openvas_task_create
msf5 > openvas_task_create  "Metasploitable3" "Windows" 698f691e-7489-11df-9d8c-002264764cea 6455a780-092a-40dd-8c01-191a7612505a
/usr/share/metasploit-framework/vendor/bundle/ruby/2.5.0/gems/openvas-omp-0.0.4/lib/openvas-omp.rb:201: warning: Object#timeout is deprecated, use Timeout.timeout instead.
[*] fb18cf93-a94b-4c9b-aadf-9408bd9a9186
/usr/share/metasploit-framework/vendor/bundle/ruby/2.5.0/gems/openvas-omp-0.0.4/lib/openvas-omp.rb:201: warning: Object#timeout is deprecated, use Timeout.timeout instead.
[+] OpenVAS list of tasksID                                    Name             Comment  Status  Progress
--                                    ----             -------  ------  --------
fb18cf93-a94b-4c9b-aadf-9408bd9a9186  Metasploitable3  Windows  New     -1msf5 >
10、启动任务,使用openvas_task_start
msf5 > openvas_task_start fb18cf93-a94b-4c9b-aadf-9408bd9a9186
/usr/share/metasploit-framework/vendor/bundle/ruby/2.5.0/gems/openvas-omp-0.0.4/lib/openvas-omp.rb:201: warning: Object#timeout is deprecated, use Timeout.timeout instead.
[*]
11、查看进度,使用openvas_task_list
msf5 > openvas_task_list
/usr/share/metasploit-framework/vendor/bundle/ruby/2.5.0/gems/openvas-omp-0.0.4/lib/openvas-omp.rb:201: warning: Object#timeout is deprecated, use Timeou
t.timeout instead.
[+] OpenVAS list of tasks
ID                                    Name             Comment  Status     Progress
--                                    ----             -------  ------     --------
fb18cf93-a94b-4c9b-aadf-9408bd9a9186  Metasploitable3  Windows  Requested  1
msf5 >
12、使用openvas_format_list 可以查看OpenVAS支持的报告格式。
msf5 > openvas_format_list
/usr/share/metasploit-framework/vendor/bundle/ruby/2.5.0/gems/openvas-omp-0.0.4/lib/openvas-omp.rb:201: warning: Object#timeout is deprecated, use Timeout.timeout i
nstead.
[+] OpenVAS list of report formats
ID                                    Name           Extension  Summary
--                                    ----           ---------  -------
5057e5cc-b825-11e4-9d0e-28d24461215b  Anonymous XML  xml        Anonymous version of the raw XML report
50c9950a-f326-11e4-800c-28d24461215b  Verinice ITG   vna        Greenbone Verinice ITG Report, v1.0.1.
5ceff8ba-1f62-11e1-ab9f-406186ea4fc5  CPE            csv        Common Product Enumeration CSV table.
6c248850-1f62-11e1-b082-406186ea4fc5  HTML           html       Single page HTML report.
77bd6c4a-1f62-11e1-abf0-406186ea4fc5  ITG            csv        German "IT-Grundschutz-Kataloge" report.
9087b18c-626c-11e3-8892-406186ea4fc5  CSV Hosts      csv        CSV host summary.
910200ca-dc05-11e1-954f-406186ea4fc5  ARF            xml        Asset Reporting Format v1.0.0.
9ca6fe72-1f62-11e1-9e7c-406186ea4fc5  NBE            nbe        Legacy OpenVAS report.
9e5e5deb-879e-4ecc-8be6-a71cd0875cdd  Topology SVG   svg        Network topology SVG image.
a3810a62-1f62-11e1-9219-406186ea4fc5  TXT            txt        Plain text report.
a684c02c-b531-11e1-bdc2-406186ea4fc5  LaTeX          tex        LaTeX source file.
a994b278-1f62-11e1-96ac-406186ea4fc5  XML            xml        Raw XML report.
c15ad349-bd8d-457a-880a-c7056532ee15  Verinice ISM   vna        Greenbone Verinice ISM Report, v3.0.0.
c1645568-627a-11e3-a660-406186ea4fc5  CSV Results    csv        CSV result list.
c402cc3e-b531-11e1-9163-406186ea4fc5  PDF            pdf        Portable Document Format report.
msf5 >
13、在WebUI同样可以看到我们创建的任务状态信息
14、任务完成后,使用openvas_report_list 查看报告列表。
msf5 > openvas_report_list
[+] OpenVAS list of reportsID                                    Task Name        Start Time            Stop Time
--                                    ---------        ----------            ---------
4ee7b572-a470-484c-962e-773d3a7eb7b1  Metasploitable3  2019-04-16T02:40:24Z  2019-04-16T03:07:15Z
7993d76a-43b3-48c6-ac94-ca630e20db68  Metasploitable3  2019-04-16T01:15:44Z
15、使用openvas_report_import命令将报告导入到Metasploit中,仅支持NBE(legacy OpenVAS report)和XML格式导入。
msf5 > openvas_report_import 4ee7b572-a470-484c-962e-773d3a7eb7b1 9ca6fe72-1f62-11e1-9e7c-406186ea4fc5
[*] Importing report to database.
但是这里我们使用的 Metasploit-5.0直接这么导入会报错,无法导入,我们先导出为文件再用db_import导入就可以了。
msf5 > openvas_report_download
[*] Usage: openvas_report_download
msf5 > openvas_report_download 4ee7b572-a470-484c-962e-773d3a7eb7b1 9ca6fe72-1f62-11e1-9e7c-406186ea4fc5 /tmp/ Metasploitable3
[*] Saving report to /tmp/Metasploitable3
msf5 > db_import /tmp/Metasploitable3
[*] Importing 'OpenVAS XML' data
[*] Successfully imported /tmp/Metasploitable3
msf5 >
16、查看OpenVAS扫描的漏洞信息
msf5 > vulnsVulnerabilities
===============Timestamp                Host             Name 		References
---------                ----             ----                                                                    ----------
2019-04-16 08:15:22 UTC  192.168.177.144  ICMP Timestamp Detection    CVE-1999-0524
2019-04-16 08:15:23 UTC  192.168.177.144  Microsoft Windows IIS   CVE-2010-3972,BID-45542
2019-04-16 08:15:23 UTC  192.168.177.144  Microsoft Windows SMB Server Multiple Vulnerabilities-Remote (4013389)  CVE-2017-0143,CVE-2017-0144,CVE-2017-0145,CVE-2017-0146,CVE-2017-0147,CVE-2017-0148,BID-96703,BID-96704,BID-96705,BID-96706,BID-96707,BID-96709
2019-04-16 08:15:23 UTC  192.168.177.144  MS15-034 HTTP.sys Remote Code  CVE-2015-1635
2019-04-16 08:15:23 UTC  192.168.177.144  Oracle Glass Fish Server CVE-2017-1000028
2019-04-16 08:15:23 UTC  192.168.177.144  SSL/TLS: Report 'Anonymous' Cipher Suites                 .....
第三章 服务端漏洞利用(预告)
在本章中,我们将学习以下内容
1、攻击Linux服务器
2、SQL注入攻击
3、shell类型
4、攻击Windows服务器
5、利用公用服务
6、MS17-010 永恒之蓝 SMB远程代码执行Windows内核破坏
7、MS17-010 EternalRomance/EternalSynergy/EternalChampion
8、植入后门
9、拒绝服务攻击
说明
原书:《Metasploit Penetration Testing Cookbook - Third Edition》
www.packtpub.com/networking-…
本文由合天网安实验室编译,转载请注明来源。
关于合天网安实验室
合天网安实验室(www.hetianlab.com)-国内领先的实操型网络安全在线教育平台
真实环境,在线实操学网络安全 ; 实验内容涵盖:系统安全,软件安全,网络安全,Web安全,移动安全,CTF,取证分析,渗透测试,网安意识教育等。


![Ubuntu 9.04中安装谷歌Chromium浏览器及使用体验[图文]](https://img1.php1.cn/3cd4a/24bf4/61b/c175cc0fe1277527.jpeg)


 京公网安备 11010802041100号