作者:胡vidalez | 来源:互联网 | 2023-01-25 15:59
这篇文章主要介绍了SpringCache分布式缓存的实现方法(规避redis解锁的问题),本文给大家介绍的非常详细,对大家的学习或工作具有一定的参考借鉴价值,
简介
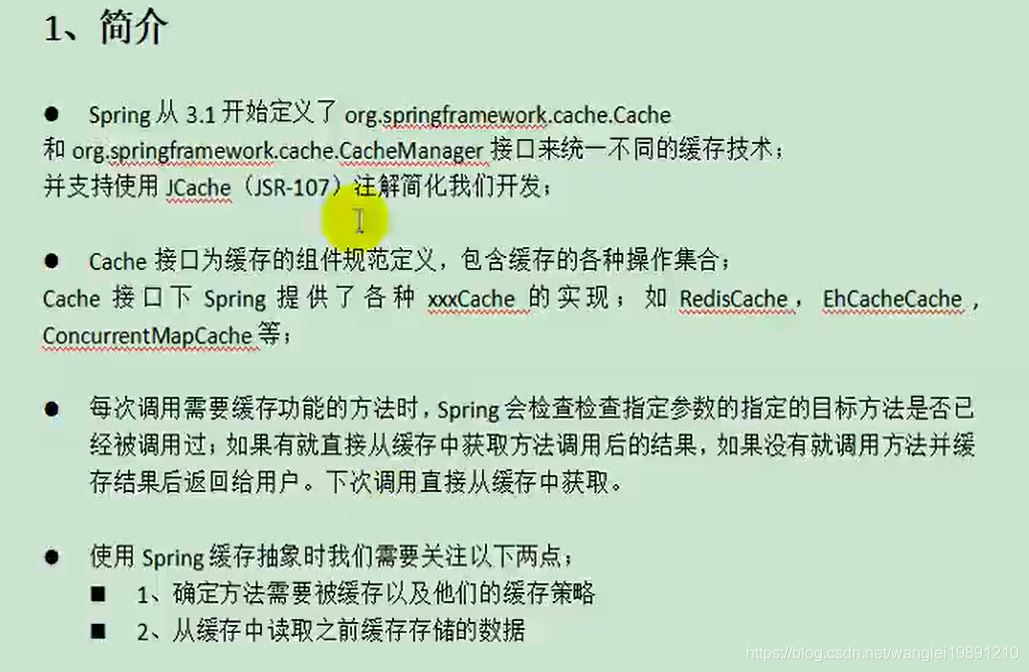
spring 从3.1 开始定义
- org.springframework.cache.Cache
- org.springframework.cache.CacheManager
来统一不同的缓存技术
并支持使用JCache(JSR-107)注解简化我们的开发
基础概念
实战使用
整合SpringCache简化缓存开发
常用注解
|
| 常用注解 |
说明 |
| @CacheEvict |
触发将数据从缓存删除的操作 (失效模式) |
| @CachePut |
不影响方法执行更新缓存 |
| @Caching |
组合以上多个操作 |
| @CacheConfig |
在类级别共享缓存的相同配置 |
| @Cacheable |
触发将数据保存到缓存的操作 |
方法
1)、开启缓存功能 @EnableCaching
2)、只需要使用注解就能完成缓存操作
1、引入依赖
spring-boot-starter-cache、spring-boot-starter-data-redis
配合redis使用
 org.springframework.boot
 spring-boot-starter-data-redis


   io.lettuce
   lettuce-core


 org.springframework.boot
 spring-boot-starter-cache
2、写配置
在项目新建config文件夹,新建一个config类

代码如下:
@EnableConfigurationProperties(CacheProperties.class)//为configuration容器中放参数
@EnableCaching
@Configuration
public class MyCacheConfig {

 /**
  * 配置文件中的内容不再生效(全部走自定义配置)
  * @param cacheProperties
  * @return
  */
 @Bean
 RedisCacheConfiguration redisCacheConfiguration(CacheProperties cacheProperties){
  RedisCacheConfiguration cOnfig= RedisCacheConfiguration.defaultCacheConfig();

  cOnfig= config.serializeKeysWith(RedisSerializationContext.SerializationPair.fromSerializer(new StringRedisSerializer()));
  cOnfig= config.serializeValuesWith(RedisSerializationContext.SerializationPair.fromSerializer(new GenericJackson2JsonRedisSerializer()));

  CacheProperties.Redis redisProperties = cacheProperties.getRedis();

  if (redisProperties.getTimeToLive() != null) {
   cOnfig= config.entryTtl(redisProperties.getTimeToLive());
  }

  if (redisProperties.getKeyPrefix() != null) {
   cOnfig= config.prefixCacheNameWith(redisProperties.getKeyPrefix());
  }

  if (!redisProperties.isCacheNullValues()) {
   cOnfig= config.disableCachingNullValues();
  }

  if (!redisProperties.isUseKeyPrefix()) {
   cOnfig= config.disableKeyPrefix();
  }

  return config;

 }
}
(1)、自动配置写了哪些
  CacheAutoConfiguration 会导入 RedisAutoConfiguration
  自动配置好缓存管理器RedisCacheManager
  (2)、配置使用redis做为缓存
  spring.cache.typeredis
3、修改pom 配置
spring:
 cache:
 type: redis
 redis:
  # 缓存过期时间
  time-to-live: 60000
  # 如果制定了前缀,我们就是用指定的前缀,如果没有我们就默认使用缓存的名字作为前缀
  key-prefix: CACHE_
  # 是否使用前缀
  use-key-prefix: true
  # 是否把缓存空值,防止缓存穿透
  cache-null-values: true
4、原理

 1、每一个要缓存的数据 我们都来指定要放到那个名字的缓存【缓存的分区(按照业务类型)】
 2、@cacheable({"category"})
  代表当前方法的结果需要缓存,如果缓存中,方法不用调用
  如果缓存中没有,会调用方法,最后将方法的结果放入缓存
 3、默认行为
  1)、如果缓存中有,方法不用调用
  2)、key默认自动生成:缓存的名字::SimpleKey[] (自主生成的key值)
  3)、缓存的value的值。默认使用jdk序列化机制,将序列化后的数据存到redis
  4)、默认 ttl 时间 -1 (永不过期)


  自定义:
  1)、指定生成的缓存使用的key: key属性制定,接受一个SpEL
   SpEL(详见文档)
  2)、指定缓存的数据的存活时间:配置文件中修改 ttl
  3)、将数据保存为 json 格式:
    自定义 RedisCacheConfiguration即可
失效模式:@CacheEvict
原理:变更缓存的时候会将redis中的缓存删除
(当下次查询时,会重新载入缓存)

推荐使用@CacheEvict
同时进行多种缓存操作 @Caching指定删除某个分区下的所有数据
@CacheEvict(value=“category”,allEntries=true)存储统一类型的数据,都可以指定成同一个分区。分区名默认就是缓存的前缀
类中使用:@CacheEvict(value=“category”,allEntries=true)
配置中使用:(禁用前缀 + 默认前缀)
spring.cache.redis.use-key-prefix=true

双写模式:@CachePut
原理:在变更缓存时,删除原有的缓存,然后将新数据重新插入到缓存中


 京公网安备 11010802041100号