热门标签 | HotTags
当前位置:  开发笔记 > 编程语言 > 正文

openssh4.6移植到armplatform

openssh4.6移植到armplatform--Linux企业应用-Linux服务器应用信息,下面是详情阅读。
源码包为:

openssh-4.6p1.tar.gz

openssl-0.9.8h.tar.gz

zlib-1.2.3.tar.gz

在主机中新建一个ssh目录,存放源文件

mkdir ?p /root/ Gemini_v2_6_3-n/ssh

tar zxvf openssh-4.6p1.tar.gz /root/ Gemini_v2_6_3-n/ssh

tar zxvf zlib-1.2.3.tar.gz /root/ Gemini_v2_6_3-n/ssh

tar zxvf openssl-0.9.8h.tar.gz /root/ Gemini_v2_6_3-n/ssh

cd Gemini_v2_6_3-n

进入Gemini_v2_6_3-n后,使其为根目录

#chroot .

在ssh目录中新建一个install文件夹,作为安装目录。

mkdir ?p /ssh/install

移植openssh4.6的步骤:

1.编译

(1)编译zlib

cd /ssh/zlib-1.2.3

./configure --prefix=/ssh/install/zlib-1.2.3

修改Makefile:

CC=gcc 改为:

CROSS=/usr/local/920t/bin/arm_920t_le-

CC=$(CROSS)gcc

LDSHARED=gcc 改为: LDSHARED=$(CROSS)gcc

CPP=gcc -E 改为: CPP=$(CROSS)gcc -E

AR=ar rc 改为: AR=$(CROSS)ar rc

开始编译:

make;

make install

(2)编译openssl

cd openssl-0.9.8h

./Configure ?prefix=/ssh/install/openssl-0.9.8h os/complier:/usr/local/920t_le/bin/arm_920t_le-gcc

make

Make install


(3) 编译openssh:

cd openssh-4.6p1/

./configure--host=arm-none-linux--with-libs--with-zlib=/ssh/install/zlib-1.2.--with-ssl-dir=/ssh/install/openssl-0.9.8h--disable-etc-default-login CC=/usr/local/920t_le/bin/arm_920t_le-gcc AR=//usr/local/920t_le/bin/arm_920t_le-ar


OpenSSH has been configured with the following options:
User binaries: /usr/local/bin
System binaries: /usr/local/sbin
Configuration files: /etc/ssh
Askpass program: /usr/local/libexec/ssh-askpass
Manual pages: /usr/local/share/man/manX
PID file: /var/run
Privilege separation chroot path: /var/empty
sshd default user PATH: /usr/bin:/bin:/usr/sbin:/sbin:/usr/local/bin
Manpage format: cat
PAM support: no
OSF SIA support: no
KerberosV support: no
SELinux support: no
Smartcard support: no
S/KEY support: no
TCP Wrappers support: no
MD5 password support: no
libedit support: no
Solaris process contract support: no
IP address in $DISPLAY hack: no
Translate v4 in v6 hack: yes
BSD Auth support: no
Random number source: OpenSSL internal ONLY

Host: i686-pc-linux-gnu
Compiler: gcc
Compiler flags: -g -O2 -Wall -Wpointer-arith -Wuninitialized -Wsign-compare -Wno-pointer-sign -fstack-protector-all -std=gnu99
Preprocessor flags:
Linker flags: -fstack-protector-all
Libraries: -lresolv -lcrypto -lutil -lz -lnsl -lcrypt

make

不要make install

(1) 将 openssh-4.6p1目录下的 sshd copy到nas中的public目录 再链接到 nas的/usr/sbin目录下

(2) copy scp sftp ssh ssh-add ssh-agent ssh-keygen ssh-keyscan 到nas 的 /usr/local/bin 目录中

copy sftp-server ssh-keysign 到/usr/local/libexec中

(3) 在nas下:

mkdir -p /usr/local/etc/

然后将openssh下的sshd_config,ssh_config 拷贝到该目录下

mkdir -p /var/empty/sshd

chmod 755 /var/empty

(4)在主机上:

ssh-keygen -t rsa1 -f ssh_host_key -N ""

ssh-keygen -t rsa -f ssh_host_rsa_key -N ""

ssh-keygen -t dsa -f ssh_host_dsa_key -N ""

将生成的ssh_host_* 6个文件copy到nas的/usr/local/etc/目录下


(5) 添加用户

将主机上/etc/目录下的passwd, 中的sshd用户追加到nas的/etc目录中的passwd中(具体代码为:


sshd:x:74:74:Privilege-separatedSSH:/var/empty/sshd:/sbin/nologin )同时将passwd的最后/bin/bash 改为/bin/sh

再将主机中/etc目录下的group文件中的用户也同样追加到nas的/etc目录下的group(sshd:x:74:)文件。


4.测试

在nas中启动sshd服务: /usr/sbin/sshd

用putty 或者再主机中ssh 192.168.1.59

ssh自己
stornas> ssh -v 192.168.1.59
OpenSSH_4.6p1, OpenSSL 0.9.8 05 Jul 2005
debug1: Reading configuration data /usr/local/etc/ssh_config
debug1: Connecting to 192.168.1.59 [192.168.1.59] port 22.
debug1: Connection established.
debug1: permanently_set_uid: 0/0
debug1: identity file /root/.ssh/identity type -1
debug1: identity file /root/.ssh/id_rsa type -1
debug1: identity file /root/.ssh/id_dsa type -1
debug1: Remote protocol version 1.99, remote software version OpenSSH_4.6
debug1: match: OpenSSH_4.6 pat OpenSSH*
debug1: Enabling compatibility mode for protocol 2.0
debug1: Local version string SSH-2.0-OpenSSH_4.6
debug1: SSH2_MSG_KEXINIT sent
debug1: SSH2_MSG_KEXINIT received
debug1: kex: server->client aes128-cbc hmac-md5 none
debug1: kex: client->server aes128-cbc hmac-md5 none
debug1: SSH2_MSG_KEX_DH_GEX_REQUEST(1024<1024<8192) sent
debug1: expecting SSH2_MSG_KEX_DH_GEX_GROUP
debug1: SSH2_MSG_KEX_DH_GEX_INIT sent
debug1: expecting SSH2_MSG_KEX_DH_GEX_REPLY
debug1: Host '192.168.1.59' is known and matches the RSA host key.
debug1: Found key in /root/.ssh/known_hosts:1
debug1: ssh_rsa_verify: signature correct
debug1: SSH2_MSG_NEWKEYS sent
debug1: expecting SSH2_MSG_NEWKEYS
debug1: SSH2_MSG_NEWKEYS received
debug1: SSH2_MSG_SERVICE_REQUEST sent
debug1: SSH2_MSG_SERVICE_ACCEPT received
debug1: Authentications that can continue: publickey,password
debug1: Next authentication method: publickey
debug1: Trying private key: /root/.ssh/identity
debug1: Trying private key: /root/.ssh/id_rsa
debug1: Trying private key: /root/.ssh/id_dsa
debug1: Next authentication method: password
root@192.168.1.59's password:
debug1: Authentications that can continue: publickey,password
Permission denied, please try again.
root@192.168.1.59's password:

ssh别人
stornas> ssh -v 192.168.1.53
OpenSSH_4.6p1, OpenSSL 0.9.8 05 Jul 2005
debug1: Reading configuration data /usr/local/etc/ssh_config
debug1: Connecting to 192.168.1.53 [192.168.1.53] port 22.
debug1: Connection established.
debug1: permanently_set_uid: 0/0
debug1: identity file /root/.ssh/identity type -1
debug1: identity file /root/.ssh/id_rsa type -1
debug1: identity file /root/.ssh/id_dsa type -1
debug1: Remote protocol version 2.0, remote software version OpenSSH_5.0
debug1: match: OpenSSH_5.0 pat OpenSSH*
debug1: Enabling compatibility mode for protocol 2.0
debug1: Local version string SSH-2.0-OpenSSH_4.6
debug1: SSH2_MSG_KEXINIT sent
debug1: SSH2_MSG_KEXINIT received
debug1: kex: server->client aes128-cbc hmac-md5 none
debug1: kex: client->server aes128-cbc hmac-md5 none
debug1: SSH2_MSG_KEX_DH_GEX_REQUEST(1024<1024<8192) sent
debug1: expecting SSH2_MSG_KEX_DH_GEX_GROUP
debug1: SSH2_MSG_KEX_DH_GEX_INIT sent
debug1: expecting SSH2_MSG_KEX_DH_GEX_REPLY
debug1: Host '192.168.1.53' is known and matches the RSA host key.
debug1: Found key in /root/.ssh/known_hosts:2
debug1: ssh_rsa_verify: signature correct
debug1: SSH2_MSG_NEWKEYS sent
debug1: expecting SSH2_MSG_NEWKEYS
debug1: SSH2_MSG_NEWKEYS received
debug1: SSH2_MSG_SERVICE_REQUEST sent
debug1: SSH2_MSG_SERVICE_ACCEPT received
debug1: Authentications that can continue: publickey,gssapi-with-mic,password
debug1: Next authentication method: publickey
debug1: Trying private key: /root/.ssh/identity
debug1: Trying private key: /root/.ssh/id_rsa
debug1: Trying private key: /root/.ssh/id_dsa
debug1: Next authentication method: password
root@192.168.1.53's password:
debug1: Authentication succeeded (password).
debug1: channel 0: new [client-session]
debug1: Entering interactive session.
Last login: Thu Aug 7 11:31:15 2008 from 192.168.1.53
[root@localhost ~]#

5. 在NAS中测试:如果中间出现问题的话,

一、可以将/root/.ssh文件删除再重新启动服务。

二、检查/usr/local/etc/sshd_config文件,看是否配置有问题。 (可能还有其他因素哦。)

附:openssh-5.0p1的移植跟上面的步骤一样,需要的环境支持也是一样。
推荐阅读
  • 在Docker中,将主机目录挂载到容器中作为volume使用时,常常会遇到文件权限问题。这是因为容器内外的UID不同所导致的。本文介绍了解决这个问题的方法,包括使用gosu和suexec工具以及在Dockerfile中配置volume的权限。通过这些方法,可以避免在使用Docker时出现无写权限的情况。 ... [详细]
  • Linux服务器密码过期策略、登录次数限制、私钥登录等配置方法
    本文介绍了在Linux服务器上进行密码过期策略、登录次数限制、私钥登录等配置的方法。通过修改配置文件中的参数,可以设置密码的有效期、最小间隔时间、最小长度,并在密码过期前进行提示。同时还介绍了如何进行公钥登录和修改默认账户用户名的操作。详细步骤和注意事项可参考本文内容。 ... [详细]
  • Centos7.6安装Gitlab教程及注意事项
    本文介绍了在Centos7.6系统下安装Gitlab的详细教程,并提供了一些注意事项。教程包括查看系统版本、安装必要的软件包、配置防火墙等步骤。同时,还强调了使用阿里云服务器时的特殊配置需求,以及建议至少4GB的可用RAM来运行GitLab。 ... [详细]
  • 树莓派Linux基础(一):查看文件系统的命令行操作
    本文介绍了在树莓派上通过SSH服务使用命令行查看文件系统的操作,包括cd命令用于变更目录、pwd命令用于显示当前目录位置、ls命令用于显示文件和目录列表。详细讲解了这些命令的使用方法和注意事项。 ... [详细]
  • Python语法上的区别及注意事项
    本文介绍了Python2x和Python3x在语法上的区别,包括print语句的变化、除法运算结果的不同、raw_input函数的替代、class写法的变化等。同时还介绍了Python脚本的解释程序的指定方法,以及在不同版本的Python中如何执行脚本。对于想要学习Python的人来说,本文提供了一些注意事项和技巧。 ... [详细]
  • 本文介绍了Oracle数据库中tnsnames.ora文件的作用和配置方法。tnsnames.ora文件在数据库启动过程中会被读取,用于解析LOCAL_LISTENER,并且与侦听无关。文章还提供了配置LOCAL_LISTENER和1522端口的示例,并展示了listener.ora文件的内容。 ... [详细]
  • 如何在服务器主机上实现文件共享的方法和工具
    本文介绍了在服务器主机上实现文件共享的方法和工具,包括Linux主机和Windows主机的文件传输方式,Web运维和FTP/SFTP客户端运维两种方式,以及使用WinSCP工具将文件上传至Linux云服务器的操作方法。此外,还介绍了在迁移过程中需要安装迁移Agent并输入目的端服务器所在华为云的AK/SK,以及主机迁移服务会收集的源端服务器信息。 ... [详细]
  • 成功安装Sabayon Linux在thinkpad X60上的经验分享
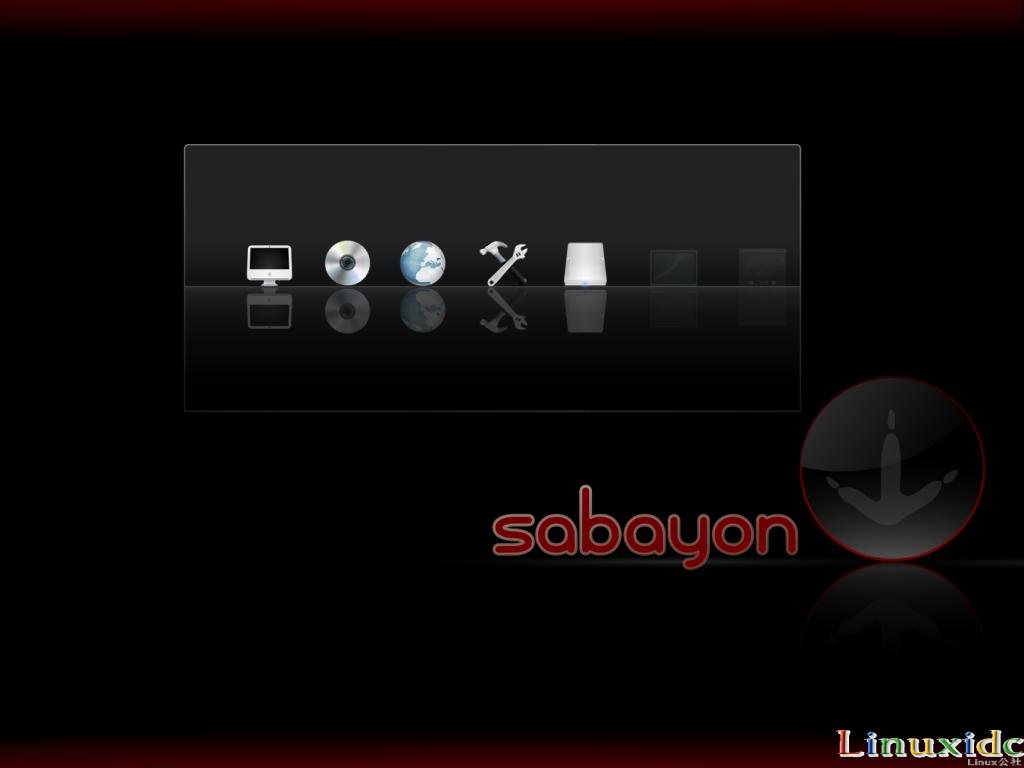
    本文分享了作者在国庆期间在thinkpad X60上成功安装Sabayon Linux的经验。通过修改CHOST和执行emerge命令,作者顺利完成了安装过程。Sabayon Linux是一个基于Gentoo Linux的发行版,可以将电脑快速转变为一个功能强大的系统。除了作为一个live DVD使用外,Sabayon Linux还可以被安装在硬盘上,方便用户使用。 ... [详细]
  • 本文介绍了Linux Shell中括号和整数扩展的使用方法,包括命令组、命令替换、初始化数组以及算术表达式和逻辑判断的相关内容。括号中的命令将会在新开的子shell中顺序执行,括号中的变量不能被脚本余下的部分使用。命令替换可以用于将命令的标准输出作为另一个命令的输入。括号中的运算符和表达式符合C语言运算规则,可以用在整数扩展中进行算术计算和逻辑判断。 ... [详细]
  • 本文介绍了使用SSH免密登录的步骤,包括生成公私钥、传递公钥给被登录机、修改文件权限的操作。同时提醒用户注意私钥的传递方式,建议使用U盘等离线方式传递。 ... [详细]
  • 本文总结了Linux下多线程执行shell脚本的4种方法,包括切换到工作目录执行、使用绝对路径执行、直接使用bash或sh执行。同时介绍了为什么需要加上"./"来执行脚本的原因。 ... [详细]
  • 程序员如何选择机械键盘轴体?红轴和茶轴对比
    本文介绍了程序员如何选择机械键盘轴体,特别是红轴和茶轴的对比。同时还介绍了U盘安装Linux镜像的步骤,以及在Linux系统中安装软件的命令行操作。此外,还介绍了nodejs和npm的安装方法,以及在VSCode中安装和配置常用插件的方法。最后,还介绍了如何在GitHub上配置SSH密钥和git的基本配置。 ... [详细]
  •     这里使用自己编译的hadoop-2.7.0版本部署在windows上,记得几年前,部署hadoop需要借助于cygwin,还需要开启ssh服务,最近发现,原来不需要借助cy ... [详细]
  • 现在比较流行使用静态网站生成器来搭建网站,博客产品着陆页微信转发页面等。但每次都需要对服务器进行配置,也是一个重复但繁琐的工作。使用DockerWeb,只需5分钟就能搭建一个基于D ... [详细]
  • DockerDataCenter系列(四)-离线安装UCP和DTR,Go语言社区,Golang程序员人脉社 ... [详细]
author-avatar
mobiledu2502879833
这个家伙很懒,什么也没留下!
PHP1.CN | 中国最专业的PHP中文社区 | DevBox开发工具箱 | json解析格式化 |PHP资讯 | PHP教程 | 数据库技术 | 服务器技术 | 前端开发技术 | PHP框架 | 开发工具 | 在线工具
Copyright © 1998 - 2020 PHP1.CN. All Rights Reserved | 京公网安备 11010802041100号 | 京ICP备19059560号-4 | PHP1.CN 第一PHP社区 版权所有